

SKET BOTTER / TRICKS LAB
A little board.
A new possibility.

See the move. Slow it down. Find your own way.
Eight illustrated lessons to explore at your pace. Start with an ollie, get curious about a flip, and enjoy the next attempt.
Choose a trick ↓Guided drawings, not recordings or measured hand movements. Real riders do it in many ways.
01 / CHOOSE YOUR NEXT ATTEMPT
Find your trick.
Make it click.

Pick a trick. Watch the drawing. Slow it down and try one part.
Ollie starting cue: find your pop
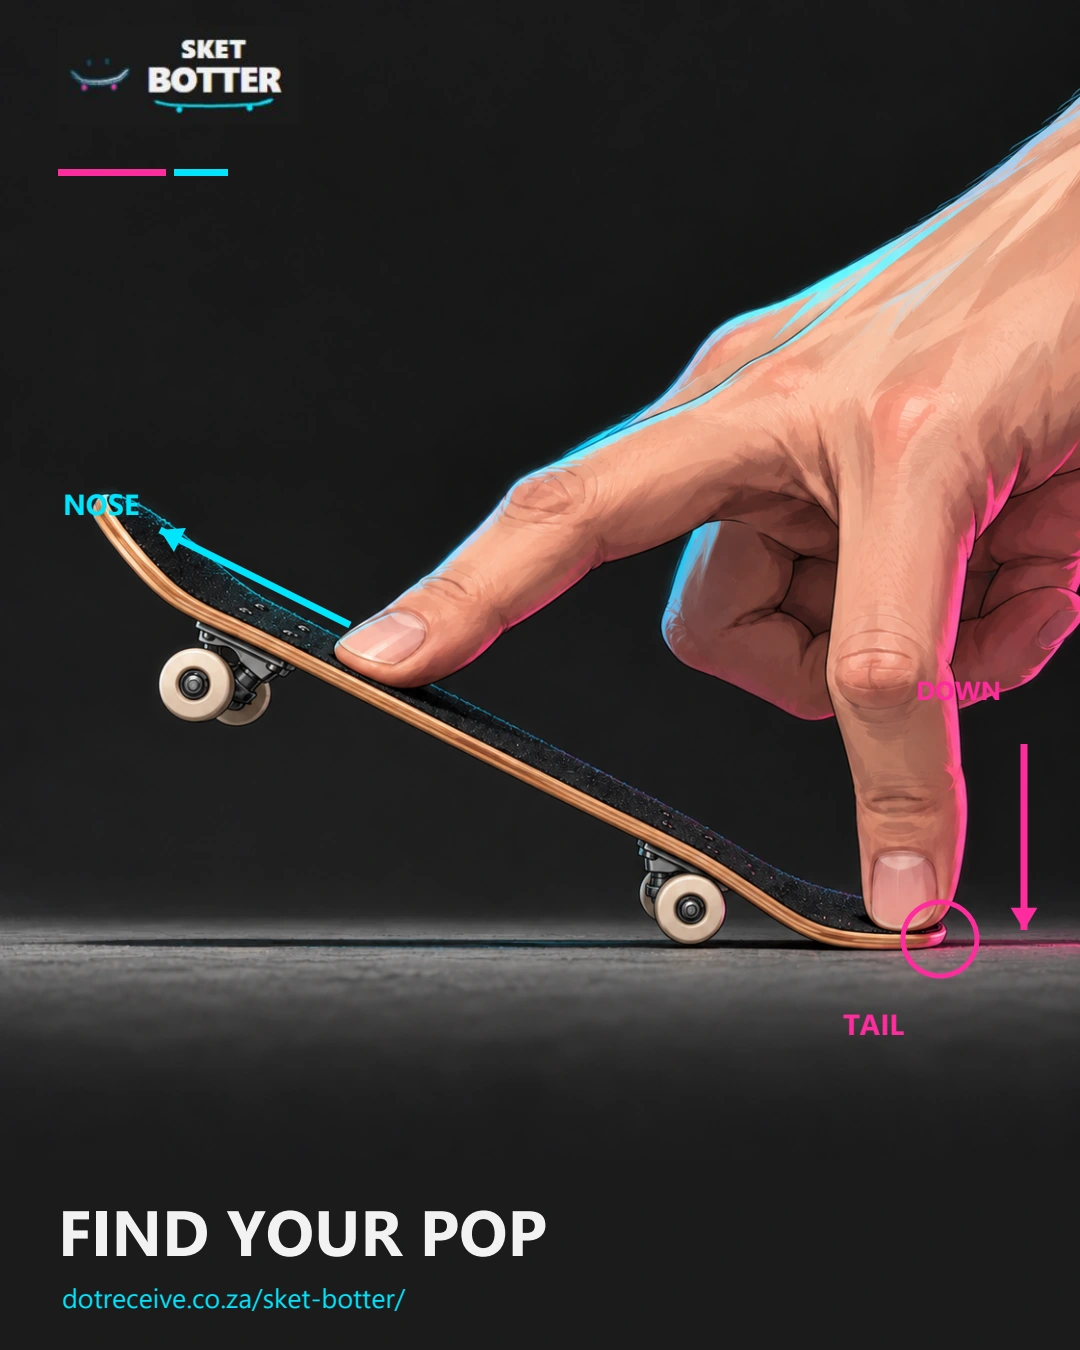
Choose your trick Ollie
YOUR NEXT ATTEMPT
Ollie
Loading the lesson player. If startup fails, the static Ollie study remains visible.
See the steps
Steps
See the move
Board and fingertip drawings. Follow the four moments.
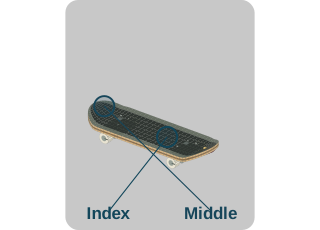
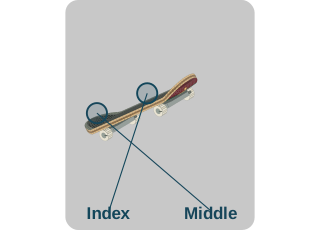
1. Set upMiddle on the tail; index near the front bolts. 2. Press the tailLet the tail meet the table. 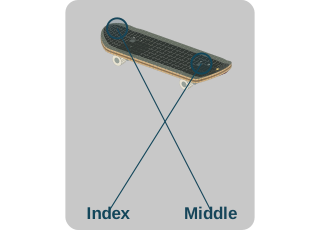
3. Guide and levelThe hand rises; index guides the nose. 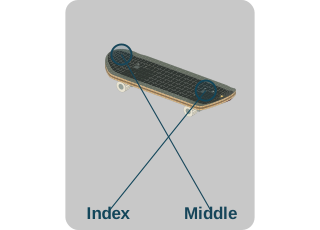
4. Come down flatKeep both fingers with the board.
Ollie · Step 1 of 6: Set up. Paused.
Drawing options & research
About this trick
Demonstration height, not a measured riding standard. Watch the tail press, then the hand lift and level. Adjust the drawing to explore the movement.
Everything below is for curious riders, parents and coaches. The drawing is authored: it is not a simulation, not measured from a person and has no forces. The separate physics experiment has been saved for future work and is not part of these lessons.
Which side is which
Near edge: the long edge of the deck closest to you, where your hand comes from. Far edge: the other long edge. A flick that leaves over the near edge rolls the board toward you; over the far edge, away from you. Backside shove-it: the tail swings toward you. Frontside: the tail swings away. Left-handed mode mirrors all of this, so the words stay true for a left hand.
Keys on the picture: Space play/pause · ← → step 0.1 s · Shift+← → previous/next step · 1–4 views · + − zoom · R restart. On a touch screen, drag sideways on the picture to move through the trick.
Each step block is as wide as that step lasts in this drawing. The lengths are authored and are deliberately not equal. Solid outline: described by sources. Dashed: sources differ. Dotted: authored for clarity.
Speed changes only how fast the clock runs. The pose at any moment is the same at every speed. Moving the slider pauses playback. The lift setting rescales the authored height curve; keyframe times stay the same, so the moment the wheels leave the table can shift by up to about 0.45 s.
Units and readouts
Deck 96 × 33.5 mm and wheels 7.5 mm across × 4.5 mm wide come from the product pages listed under Sources. Deck thickness (3 mm), kicked-end angle (24°), axle spacing, wheel spacing and truck shapes are assumptions for drawing only. Pop height is the peak rise of the board centre above its resting height, in mm, and you choose it. The hand is a stylised mannequin: illustrative adult proportions, generic joint limits and authored rest curls. These are unverified assumptions, not instructions for how your hand must move.
- Green open arrow: motion (where something is moving)
- Dashed burgundy line: rotation axis
- Gold ring on the deck: a fingertip is touching here
- Fading line: where a fingertip or the board has just been
What this trick shows, and what it leaves out
Hand model: what is assumed
Sources and how much to trust them
Where the sources disagree
Rider review checklist (step by step)
For experienced riders: please say which steps do not match how you do the trick. Check set-up, pop, contact and release, rotation, catch and landing, plus the wrist bend readout and the shoulder. No rider has checked this drawing yet.
Take it back to your session.

A tiny discovery is still progress. The next attempt is yours.
Find a practice ideaBack to the community →